Function description and application method of N2F
N2F smart nail matching with exclusive mobile phone APP, can achieve many NFC features.
N2F function demo

At this stage, mobile phones compatible with N2F are all of the Android system or WP system mobile phones with NFC function.
Android Phone:
1. Click a below link to download and install the app of N2F
Google Play Store:https://play.google.com/store/apps/details?id=com.jakcom.nail
Backup Sever:http://www.jakcom.com/app/nail/update/nail.apk
2. Click on the APP icon of “JAKCOM Smart Nail” to enter the APP menu page
3. This APP is mainly divided into two types of functions, namely, "Edit Task" and "Share Info".
4. Through the set within the list of features of "Edit Task", N2F can enable the users to achieve private note, quick start, Profiles, App Lock, Screen Lock and other features.
5. Through the set within the function list of "Share Info", N2F can enable users to share business cards, web sites and graphic information with other mobile phones.
Windows Phone:
1. Click this below link to download and install the app of N2F (“NFC Writer”)
https://www.microsoft.com/zh-cn/store/p/nfc-tag-creator/9nblgggzkbc0
2. Click on the APP icon to enter the APP menu page
3. Temporarily APP functions of windows are less than android, we will increase more functions in the future update.
N2F installation demo
1. First, please select appropriate finger for installation ;
The chip materials of N2M and N2F are relatively hard, so please choose the finger nail which is more flat and small radian, such as thumb.

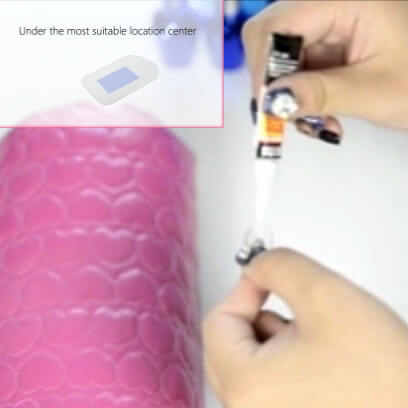
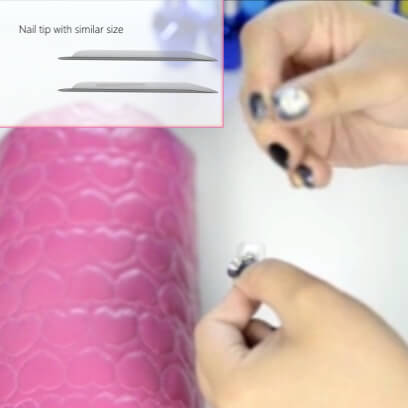
2. Then, select a piece of nail tip suitable for the nail size.

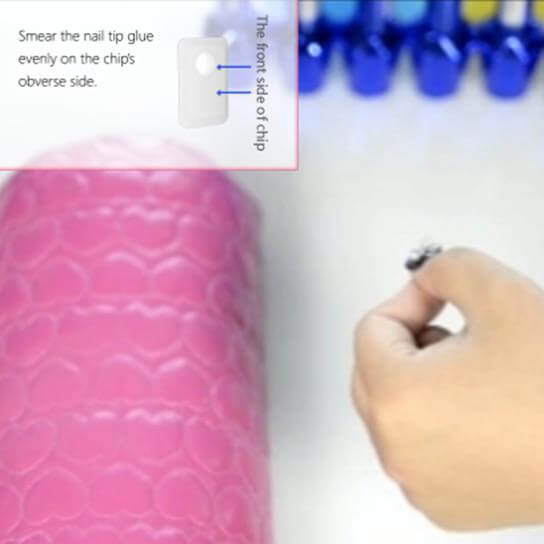
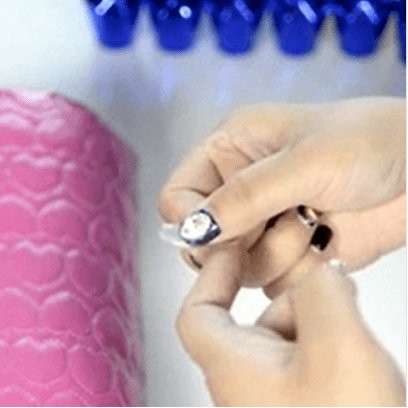
3. Determine the location where the nail tip fits the chip, and apply appropriate amount of glue, or smear the nail tip glue evenly on the chip’s obverse side (surface with a protrusion).
4. Then, paste the chip on the corresponding position of nail tip, please notice that nail tip should be glued with chip’s obverse side (surface with a protrusion).
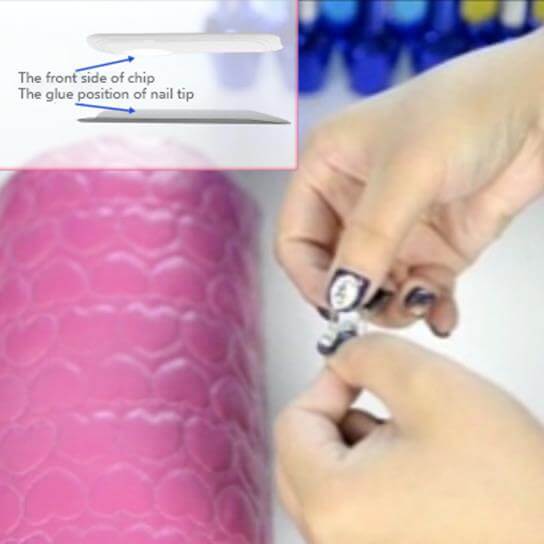
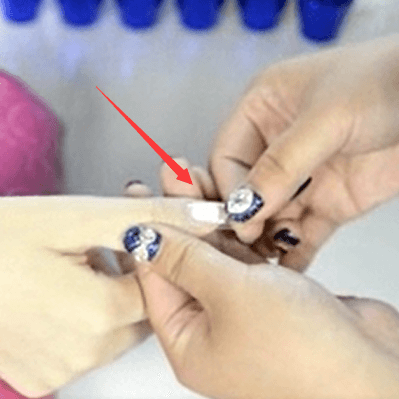
5. Then, take another piece of nail tip with similar size, place it on the chip and squeeze the chip’s periphery, but do not squeeze chip’s protruding parts, in case of damaging internal components. Blow air into the gap while squeezing to let the glue dry as soon as possible. Generally, it will take about 30 seconds. Then, remove the nail tip used for squeezing.
6. Apply glue evenly to the contact surface between nail tip and nail.
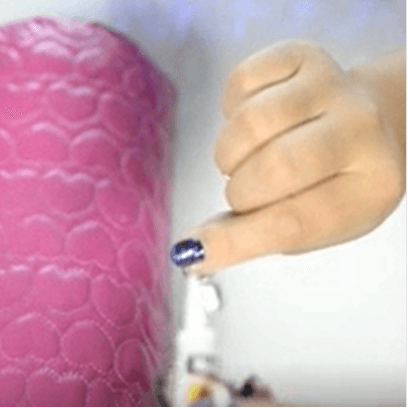
7. When the glue becomes ropy, place the nail tip on the surface of the nail, and keep pressing for a period of time.
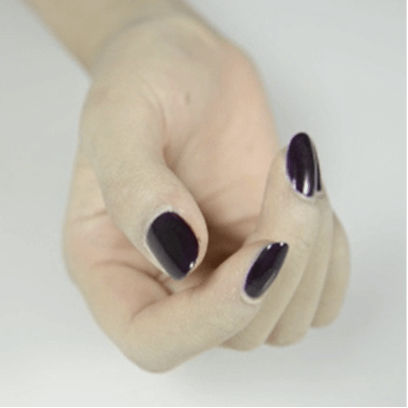
8. After the nail tip and nail are firmly glued, users can trim their nail tips and apply nail polish or do other operations according to users’ different needs.
Frequently Asked Questions
1. No reaction
a. Please try another N2 chip to determine whether problem belong to the N2 chip or Reader.
b. If the test is normal before installation, but after the installation to the nail on finger, become no response, this situation can not be repaired, should replace it, so every time install chip, please do not exert excessive force to squeeze or bend the chip.